
Easter Marble Eggs: A Step-by-Step Guide to Creating Stunning Swirls 🥚🎨✨
Easter egg decorating has always been a favourite tradition of mine, and this year, I’m adding a creative twist with marbled Easter eggs! In this easy step-by-step guide, I’ll show you how to create stunning, swirly designs that will make your Easter extra special.
2/24/20251 min read
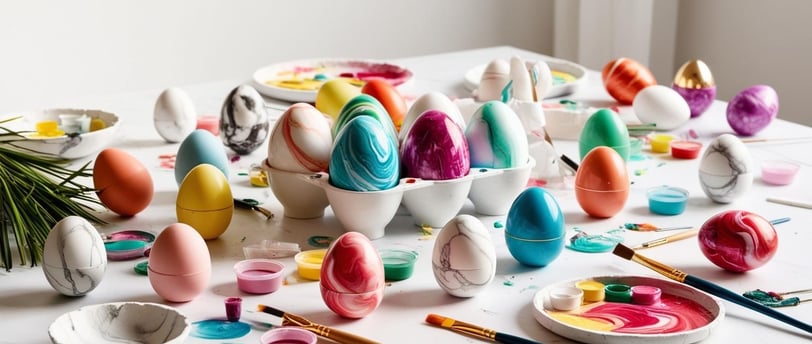
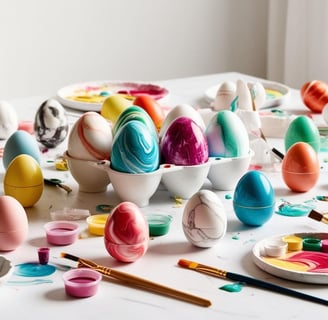
Easter is the perfect time to get creative with egg decorating! If you want to take your Easter eggs to the next level, try this stunning marble effect. It’s easy, fun, and creates a unique, colorful design. Follow this simple guide to make your own marble Easter eggs at home.
What You’ll Need:
✔️ Washable markers (I used Giotto Turbo Color)
✔️ Paper towels
✔️ ¾ glass of cold water
✔️ A splash of vinegar
✔️ Hard-boiled eggs
Step 1: Wrap the Eggs
Take a paper towel and wrap it gently around a hard-boiled egg, making sure it’s fully covered.
Step 2: Add Color with Markers
Use washable markers to scribble all over the wrapped paper towel. The more color you add, the brighter and more vibrant the final result will be!
Step 3: Activate the Colours
Lightly spray the wrapped egg with water (or dab it with a wet brush) to let the colors blend together. Be careful not to soak it too much—just enough for a watercolor effect.
Step 4: Set the Colors with Vinegar
Carefully unwrap the egg and dip it into a small bowl of vinegar for about 5–10 seconds. This step intensifies the colors and helps set the design.
Place the egg on a clean surface and let it dry completely before handling.
Step 5: Reveal the Magic! ✨
Once dry, your beautifully marbled Easter eggs are ready to be unwrapped and admired! Each egg will have a unique, swirly pattern—perfect for Easter decorations, gifts, or egg hunts.
💡 Pro Tip: Experiment with different marker colors and spray intensity for endless creative combinations!
Need a little tutorial? Check out this step-by-step tutorial on my Pinterest account!
Happy Easter and happy crafting!